I thought I’d try filming parts of the progress for one of my corsages for today!
This piece will actually be available at the San Diego Royal Midnight Court event hosted by @ButlerCafeV! Sadly I won’ be able to be there in person this year but the wonderful Halley from The Black Ribbon will be helping me vend remotely!
Filming this was a very spontaneous idea and I didn’t plan it out well, so excuse the occasionally wonky camera angle, me working out of frame or my hand blocking the view haha... but if I do this again I will have lot’s of pointers to go by!
So let me give a rundown of what I did:
For this corsage I am using two separate fabric flowers as main pieces and one chiffon scrap flower for parts (I didn't take a picture of it since it's kind of ugly on it's own lol)!

The main piece is an open blossom rose which features two different materials: a thick black material with varying petals of a semi see-through type spaced throughout. The second piece, a closed blossom rose is very similar in fabric material, especially how the light reflects off it. However it lacked the same see through petals!
In order to match the pieces together I removed a few transparent petals from the bottom of the big rose and attached them to the small one and I used a layer from the bottom of my chiffon scrap piece to place on both flowers.
The material representation is evenly matched throughout the whole corsage that way and the fabrics blend together nicely! With the see-through petals evenly distributed between the two they blend well together and look as if the flowers are created from the same materials.
It’s actually extremely hard to find flowers from the same materials when your material sources are mainly vintage and thrift finds as well as randomly sourced stock from various local and online artificial floral suppliers. The way I gather my materials is very organic and situational and spaced out over long periods of time. I am always on the hunt and gather what I can. Some materials heavily depend on the seasonal availability and just pure luck as well! It’s been a good 5 years plus of collecting so far!

I also embellished each rose with a variety of different sized black flat back crystals by using clear drying gem fabric glue that is water resistant and doesn’t damage the material it is put on. I actually did this for my first step because I just really wanted to embellish some stuff but it’s probably smarter to do this step towards the end... I‘m sure I have some crystals hidden from view when I attached the flowers together haha...
Next I individually reshaped the petal edges. Most artificial flowers you can buy have very simple circle shaped petals. In reality though flower petals have different curves on their edges, there are some dips and even little nicks!


So to emulate this I individually cut the edges with scissors! This also takes care of any frayed threads sticking out that are from age, storage, transportation, manufacturing or simply a part of the petal material aspect!
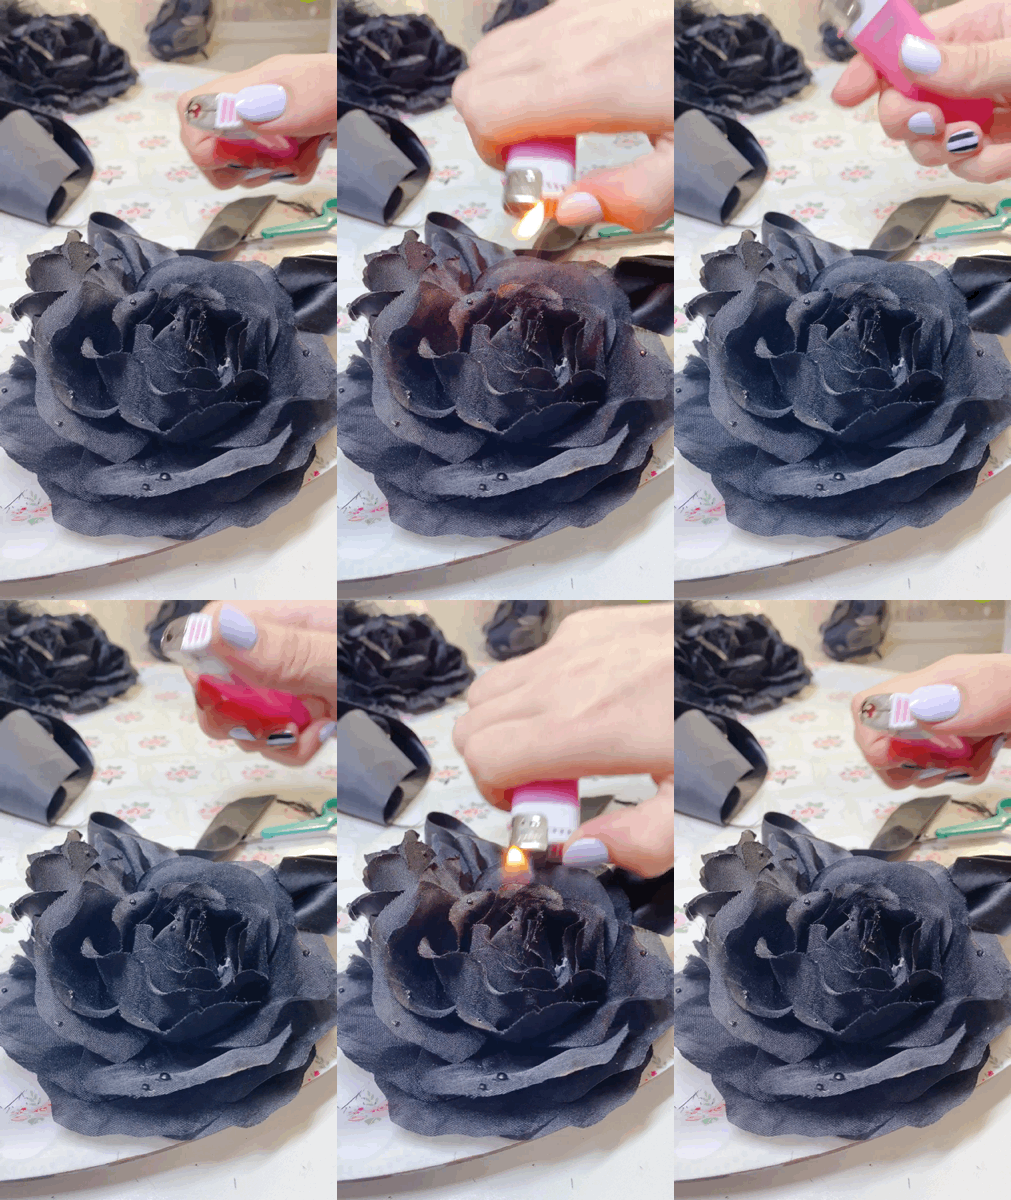
I prevent fraying by gently melting the edges with a simple click and hold lighter (god it’s so hard with a turn activated one lol) with the flame set to high.

DISCLAIMER: You need to be very aware of how the material you work with behaves when it gets close to a flame or even temporarily catches fire. Some colored materials will melt horribly leaving brown stained edges, others will instantly catch on fire and the blaze eats everything in its path! You need to be in a well ventilated room and ready at a seconds notice for any potential accidents!
I DON’T recommend doing this unless you are EXPERIENCED & PREPARED! Please don’t put yourself or others at risk!
In this case the non transparent petal material softly curled up and the heat sealed the fabric edge. The transparent material however was more wild! It would easily catch on fire and I needed to blow it out repeatedly. The edges would also tend to melt into brown blobs. You also need to double check that those edges do not leave behind any soot-like material that could stain anything -ESPECIALLY if your pieces are meant for commercial use - imagine staining someones Lolita dress because you didn’t put in that extra thought or time! i removed the brown edges by carefully trimming them and re-setting the edges with much less heat by holding the flame further away the second time around.
The next step is recreating folds and dimension of a natural petal. Most flowers are simple cut fabric pieces that are layered on top of another.

If you ever accidentally removed the plastic stem of some fake flowers, you will know it all falls apart unless the layers are individually glued together! Higher quality flowers have some shaping and dimension on those layers already, they curve and emulate real flower petal shapes that way. I noticed this is usually only done on the innermost sections of regular artificial flowers or there is a small plastic piece hidden in the layers that pushes the petals into a specific shape!
Unless you get lucky and find very high quality pieces or much newer stock your pieces will be flat and shapeless.
By gently folding the material and applying some heat from your flame you can actually set some shapes, folds and curvature into your petals.


As embellishments I attached one satin ribbon and placed 4 shimmery feathers (they reflect light in green and blue tones depending on the light) to accent the flowers. I think combined with the black crystals it gives a touch of elegance. The two feathers are placed on each side to frame the roses nicely and I love the soft swaying movement the feathers give when you are in motion.
For the backing I used my standard glittery piece of felt, a two way pin / clip attachment and my custom “Aini” satin brand tag!
I love using pin / clip attachments because of their versatility. You can pin the clip into materials for security and the clip can provide extra security and help in the placement of the corsage. Want the corsage to sit a specific way or at an angle? Grab a fold of the material it’s pinned into and clip it in as well!
Since this is a relatively small and lightweight piece I only used one pin / clip attachment. Large or heavy pieces will have multiple attachments for security, we don’t want the corsage flailing around or falling off! I prefer to use felt backing because the material really “merges” with the glue I use. when I get lucky and find cute felt I’m always happy! I sometimes use polka dot or glitter felt - it adds a little special touch to the overall piece, even if it’s not visible. For older pieces I used remnant loose leaves that would be part of the stems of flower I obtained. However most of the time the leaves are made of plastic and the glue doesn’t merge with the fiber. The glue would only take the shape and the leaves could come apart. This poses issues on both sides of the corsage since the overall structure holding together is in danger as well as a chance of the pin clip attachment coming off. These are all things I learned over the last 4 years of making corsages and my methods are constantly evolving.
I use millinery grade extra strength hot melt glue that dries clear and doesn’t discolor with age and a small precision tip glue gun.
Finished piece!


Plopped this on for a second at 1:30am!
I’d say this particular piece took about an hour, however that includes the time for the filming and usually I work on multiple pieces at once and switch them between the time it takes for the various glues to dry!
I filmed only some parts of the process for this piece and sped them up individually, a lot of small refinements aren’t filmed because it would put it past the 5 minute mark haha 💦
A lot of the process is me holding things in place while the material dries down in order to create a specific shape, ex. The pin/clip backing of the rosette needs to be held in place for a few minutes so it will sit curved wherever it is placed in order to cover the visibility of the backing when worn. You need to consider the curvature of the piece when worn or the flowers would just stick out like a sore thumb. I typically run to my mirror and hold the corsage onto places where I'd put it and see how it looks at an angle.
I notice even some Lolita brands seem to not consider this and their florals will just stick off your head like a sore thumb. You need to work three dimensional and ensure your piece wraps around to naturally cover up it's backing and create a good transition otherwise you are left with a bulbous mess. I think I'll cover how to shorten flowers in the future as well!

Great concept - meh execution
A perfect example is the new Angelic Pretty Princess Merilot Headdress. The concept is absolutely gorgeous but unless you somehow style your hair completely around that piece those flowers will just stick off of your head. It takes a lot of time and effort rebuilding the flower (You can't even do it with all types of artificial flowers, some will literally explode and be unusable) as well as over 9000 clips/pins to get that ideal look but I don't expect a brand to put in that much detail work for something that's not a one-off item.
Finally you really need to sit down and remove any fuzz and glue leftovers. A simple fuzz roll-over will help with any leftovers from removing loose threads and fringe, maybe loosen up the layers of the petals and wipe through those as well. Also If you let your glue cool down it should be easily removable. The worst thing you can do is try to remove hot glue right after it's come out of your gun. You will most likely merge it with the fibers of whatever materials you are working on and that's much harder to remove than when it's dried and comes off in one piece.
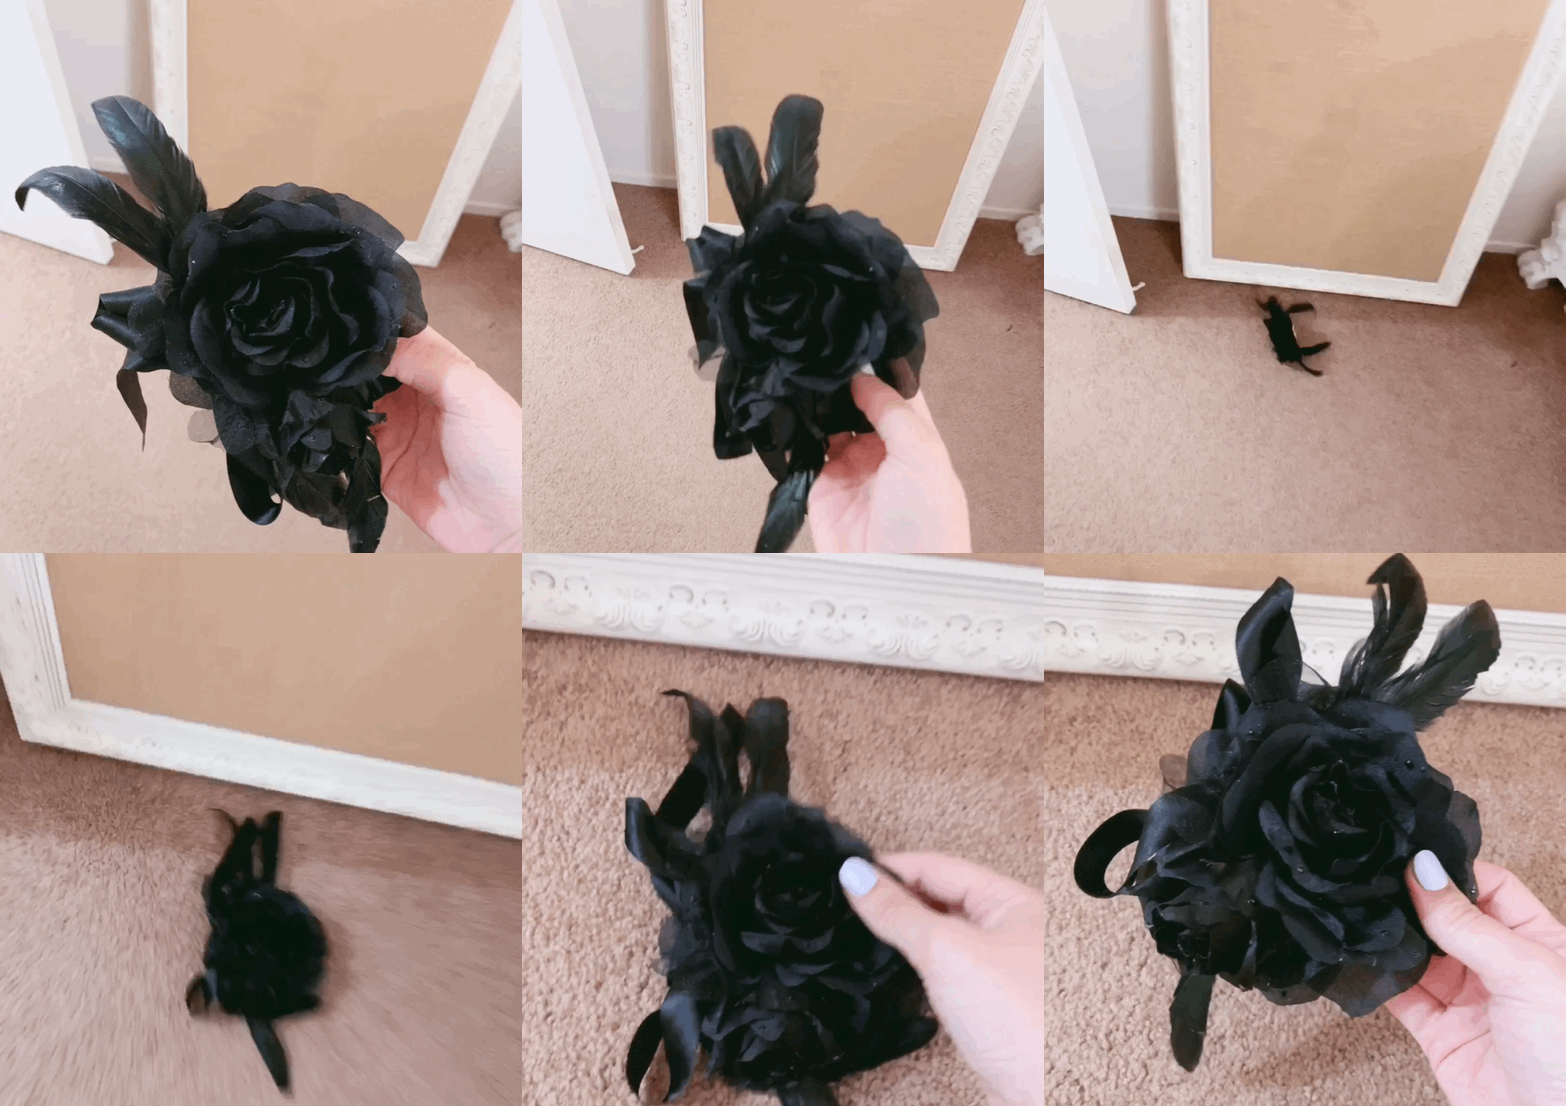
And then... STRESS TEST TIME! My work has to endure lots of motion and movement if it's worn all day and it needs to survive being handled roughly when you first attach it! From my experience the best test is to fling it at the floor as hard as you can. If it falls apart you didn't do it right!

Still in one piece?! Good to go!
OKAY! That's enough rambling about flowers for today and I need to get back to making more corsages! I appreciate you taking the time and checking out my post!
